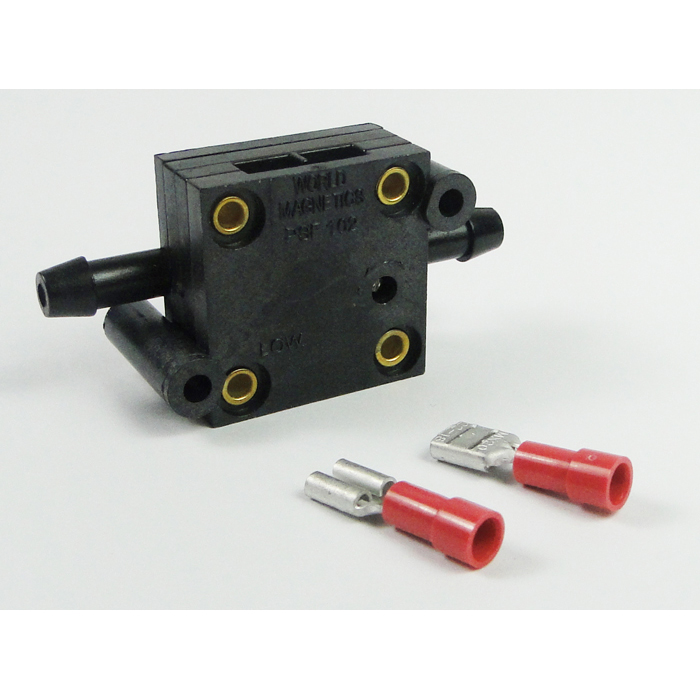
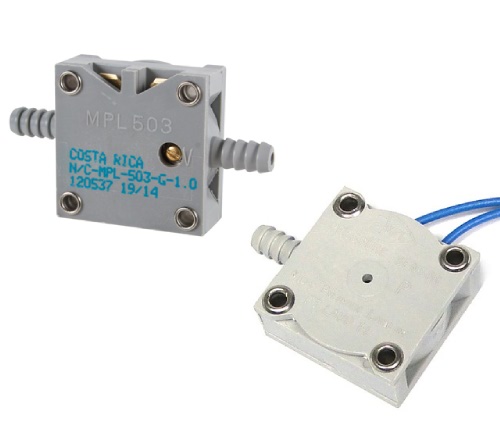
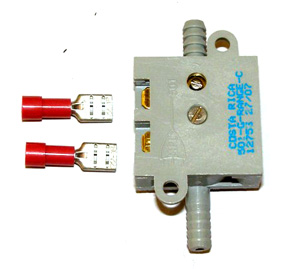
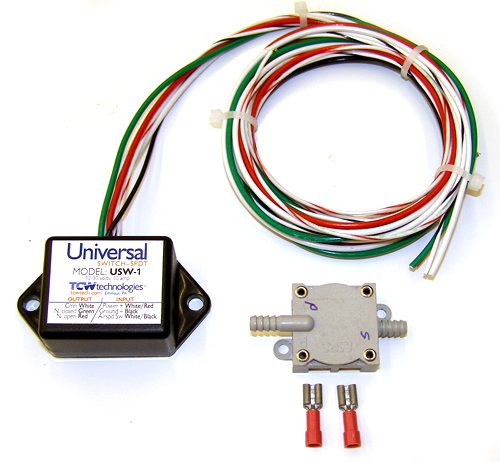
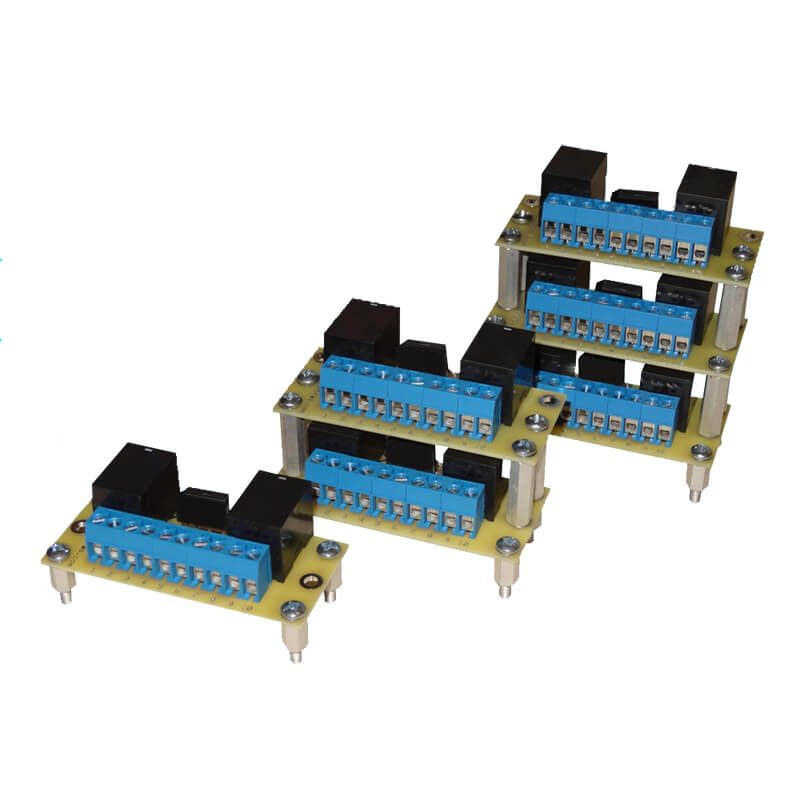
Ae Airspeed Switch & Relay Board

Артикул: 10-01817

24092 20077 руб.

Наличие: – Есть в наличии у нашего поставщика. Доставка на наш склад в течение 5...6 недель после оплаты Вами заказа.

Overview

Protection against accidental Flap Deployment Protection at High Airspeeds
When our relay board is used with our airspeed switch, you can protect you flaps from being actuated in the downward direction when your airspeed is too high (above the white arc). We provide the end user with easy connection diagrams for several different systems.

Automatic Elevator Trim Motor Speed Adjust at different airspeeds
Many have complained about the fast adjustment speed of elevator trim motors at high airspeeds. When our relay board is used with our airspeed switch, it eliminates this problem. You will have two speeds, fast for slower airspeeds, and slower for high airspeeds. The slower speed is adjusted by supplying this relay board a lower motor drive voltage.

DETAILS for the Automatic Elevator Trim Motor Speed Adjust

  1. Connect the airspeed switch to your aircraft pitot tube and static air.
  2. Connect the airspeed switch output, to drive the relays on the relay board. See the appropriate diagram below.
    NOTE: The airspeed sensor will only drive light loads such as the relay board coils.
  3. Use the output of the relay board to switch from one of two voltages that will be used to drive your elevator trim motors.
  4. The one item you will have to supply, is the alternate lower voltage source for your slower speed. You may use simple diodes or zener diodes in series with your 12Vdc supply, or use an adjustable source like the "Ray Allen Company's" Speed Control. Click the link below to view and/or print out a suggested connection diagram.
DETAILS for the Flap Deployment Protection
  1. Connect the airspeed switch to your aircraft pitot tube and static air.
  2. Connect the airspeed switch output, to drive the relays on the relay board. See the appropriate diagram below.
    NOTE: The airspeed sensor will only drive light loads such as the relay board coils.
  3. Use the output of the relay board to activate or disable your flap down electronics. See the appropriate diagram below.